Why Sampling Is the Most Important Phase of Your Custom Drinkware Project
The sampling phase is where custom drinkware projects succeed or fail. A thorough, well-managed sampling process catches design flaws before tooling commits to expensive molds, ensures color and logo accuracy before mass production, and builds confidence between buyer and manufacturer. Rushing through sampling to save time almost always costs more in rework and delays than investing in proper sample rounds upfront.
Stage 1: Concept Sketches and Design Brief
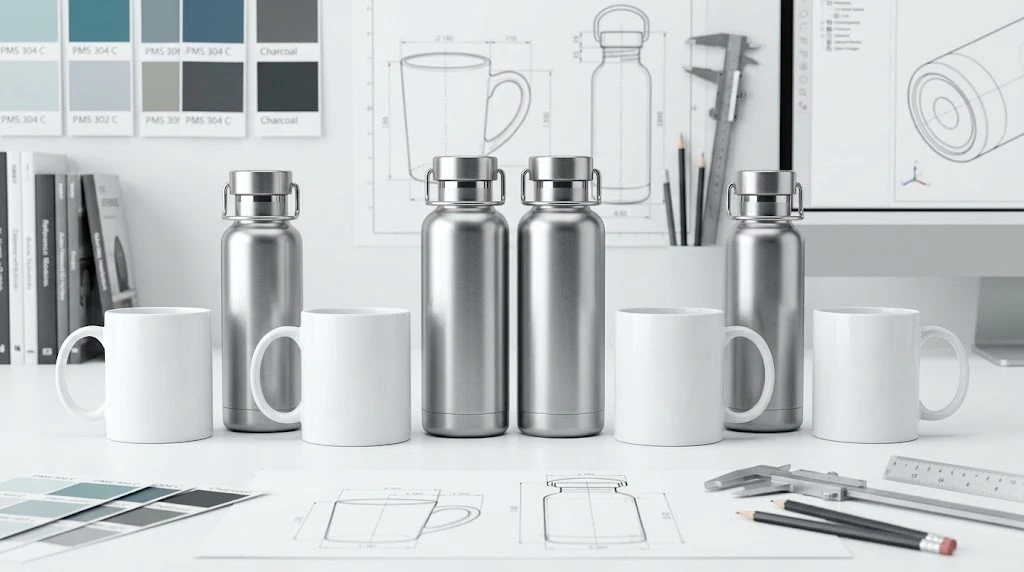
The sampling process begins with a design brief that translates your brand requirements into technical specifications. This document should include target volume and dimensions, material preference (stainless steel, Tritan, ceramic, glass), desired features (insulation, handle, straw compatibility), and any existing reference products. Concept sketches at this stage can be hand-drawn or created in design software. The goal is not artistic perfection but clear communication of shape, proportions, and key design elements. Most manufacturers provide 2–3 initial concept directions for you to choose from or combine.
Stage 2: 3D CAD Renderings and Virtual Mockups
Once a concept direction is selected, the manufacturer creates detailed 3D CAD models. These digital models allow you to review every angle of the bottle, check proportions against your reference dimensions, and identify ergonomic issues before any physical work begins. Modern CAD files are precise enough to calculate exact weight, center of gravity, and liquid capacity. Many manufacturers also produce photorealistic renderings that simulate different colors, finishes, and logo placements. These renderings are an essential tool for internal stakeholder approval before committing to physical sampling costs.
Stage 3: Rapid Prototyping
For bottles with complex shapes or untested design features, rapid prototyping creates a physical model without committing to production tooling. The two most common methods are 3D printing (SLA or SLS for plastic prototypes, binder jetting for metal) and CNC machining from solid material blocks. 3D-printed prototypes are ideal for evaluating ergonomics, handle placement, and lid fit. They are not suitable for functional testing (drop tests, leak tests, thermal testing) because the printed material has different mechanical properties than the production material. CNC-machined prototypes can be produced in the actual production material, enabling limited functional testing, but they cost significantly more and take longer.
Stage 4: Engineering Samples
Engineering samples are the first units produced from the actual production mold or tooling, but before the tooling is fully polished or textured. These samples verify that the mold produces parts within dimensional tolerance, that assembly components fit together correctly, and that the basic design functions as intended. Engineering samples are typically uncolored (natural material finish) and unlabeled. They are used for internal QC validation and for you to verify dimensions, weight, and assembly quality.
This is the stage to measure everything: fill volume, thread fit, lid sealing pressure, gasket compression, handle strength, and stacking capability. Any dimensional issues must be corrected before moving to the next stage, because changes after tool finishing are significantly more expensive.
Stage 5: Pre-Production Samples (Gold Sample)
The pre-production sample (often called the “gold sample” or “PP sample”) is the final verification sample before mass production. It is produced from the finished, polished, and textured production mold, using the final production material, color, and decoration method. This sample should be indistinguishable from the final production units delivered in your order.
Pre-production samples are the point of no return for color approval. Compare the sample against your Pantone reference under standardized D65 lighting. Check logo position, size, and clarity. Verify that the lid color matches the bottle body. For screen-printed logos, confirm that ink opacity and registration are correct. For laser-engraved logos, verify contrast and depth. This is also the final opportunity to test functional performance: fill with water, tip upside down, check for leaks, drop from counter height onto a carpeted surface.
Sample Types Comparison
| Sample Type | Purpose | Timeline | Typical Cost | Material |
|---|---|---|---|---|
| Concept sketch | Direction alignment | 1–3 days | Free | Digital |
| 3D CAD / rendering | Visual approval | 3–7 days | $100–500 | Digital |
| 3D-printed prototype | Ergonomic evaluation | 3–5 days | $50–300 | Resin / plastic |
| Engineering sample | Dimensional validation | 2–4 weeks | $200–800 | Production material (unfinished) |
| Pre-production sample | Final approval | 1–3 weeks | $300–1,500 | Full production material |
How Many Sample Rounds Are Standard?
For a typical custom drinkware project with no unusual complexity, two sample rounds are standard: one engineering sample round for dimensional verification, followed by one pre-production sample round for final color and decoration approval. Projects with custom colors, complex multi-material assemblies, or unusual bottle shapes may require 3–4 sample rounds. Each additional round adds 1–3 weeks and $200–800 in cost. To minimize rounds, provide detailed specifications upfront, approve digital renderings thoroughly, and send clear, annotated feedback on each sample — mark-up photos rather than describing changes in text alone.
What to Check in Each Sample Round
Keep a checklist for each sample you receive. Measure dimensions against your spec sheet (height, diameter, capacity). Test lid fit and seal (fill with water, invert, shake). Check weight against target. Inspect surface finish (smoothness, blemishes, scratches). Verify logo placement and color accuracy. For decorated samples, check alignment (centered, level), color (Delta E against reference), and durability (scratch test on a non-visible area). Document everything with photos and measurements, and send feedback within 3 business days of receiving the sample to keep the project timeline on track.
For more on navigating custom manufacturing, read our guide to MOQ, lead times, and payment terms and our first-time buyer’s guide.
Ready to start your custom drinkware project? Contact Mofe’s B2B team to begin the sampling process with a free concept consultation.